 |
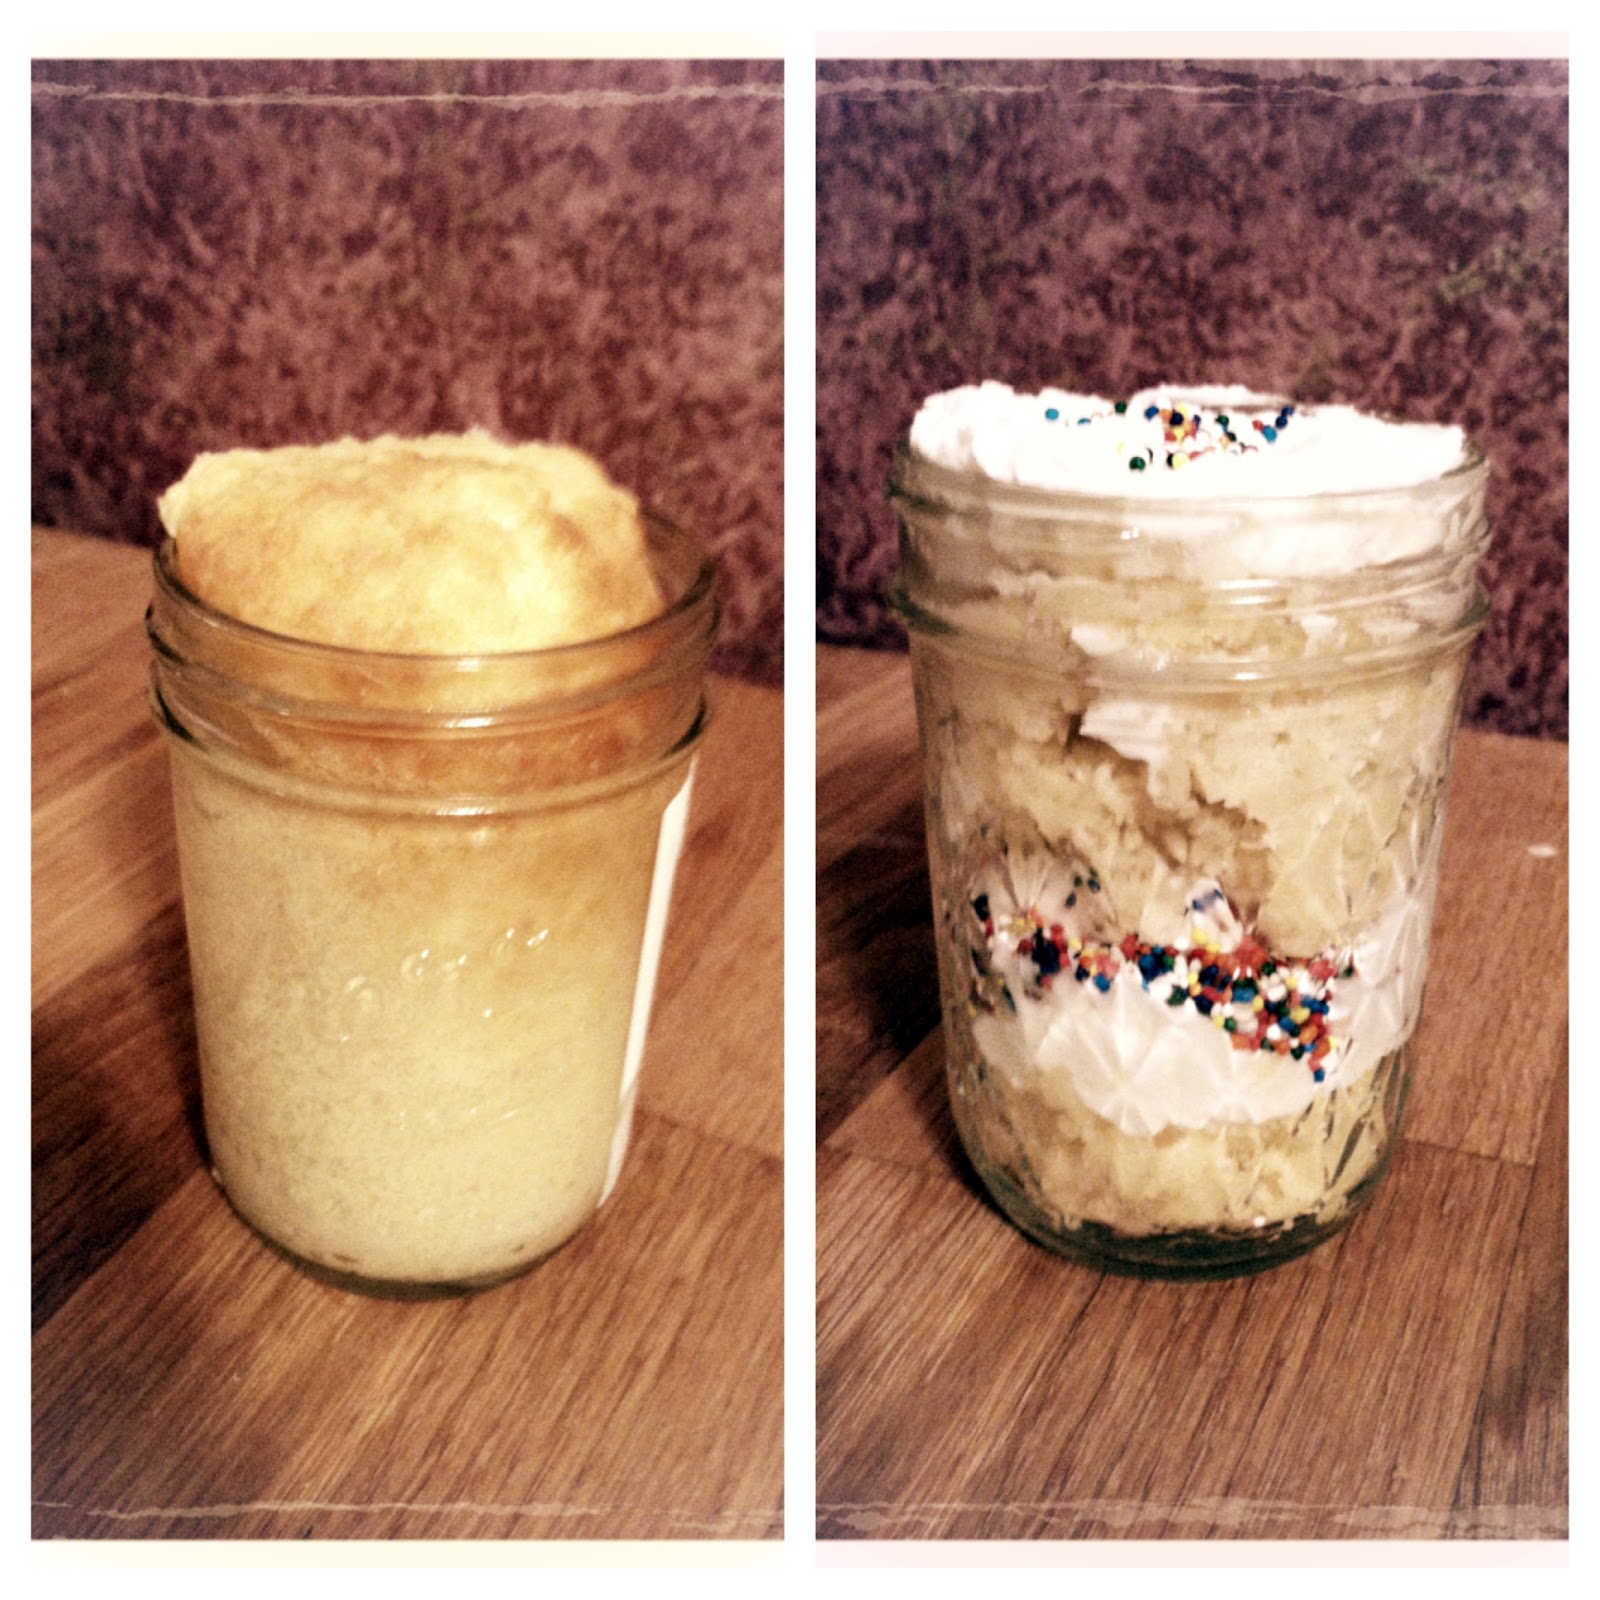
| Before and After of my Cake in a Mason Jar |
Make your favorite box mix of cake following the directions on the back. Fill mason jars 1/2 full with the cake batter and place the mason jars into a baking dish that has a small layer of water on the bottom. This water in the bottom of the pan will help even baking. Or at least that is the idea....
Next, bake the cakes in the oven at 350 degrees F for approximately 45minutes. Make sure the cake cooks all of the way through by testing it with a cake tester. When you are able to pull the cakes out of the oven, remove them from the water bath and let them cool completely. During the cooling process I made a 1/2 batch of my butter cream frosting. You can use any frosting you want.
When the cakes were cooled, I removed them from the jars and cut the cake in half. At this point I re-washed and sanitized the mason jars so that you can see the layers. Put a small dab of frosting on the very bottom to hold the cake in place. Then layer the bottom half of the cake with a dollop of frosting then add the top half with the crown to the top. I added one more clean layer of frosting and sprinkles before putting the lid back on.
This is a quick and cute way to dress up boring old cake slices and offer individual options to friends, family or guests. It is so cute and homemade to serve a slice of cake in a Mason Jar! You will love it <3
No comments:
Post a Comment